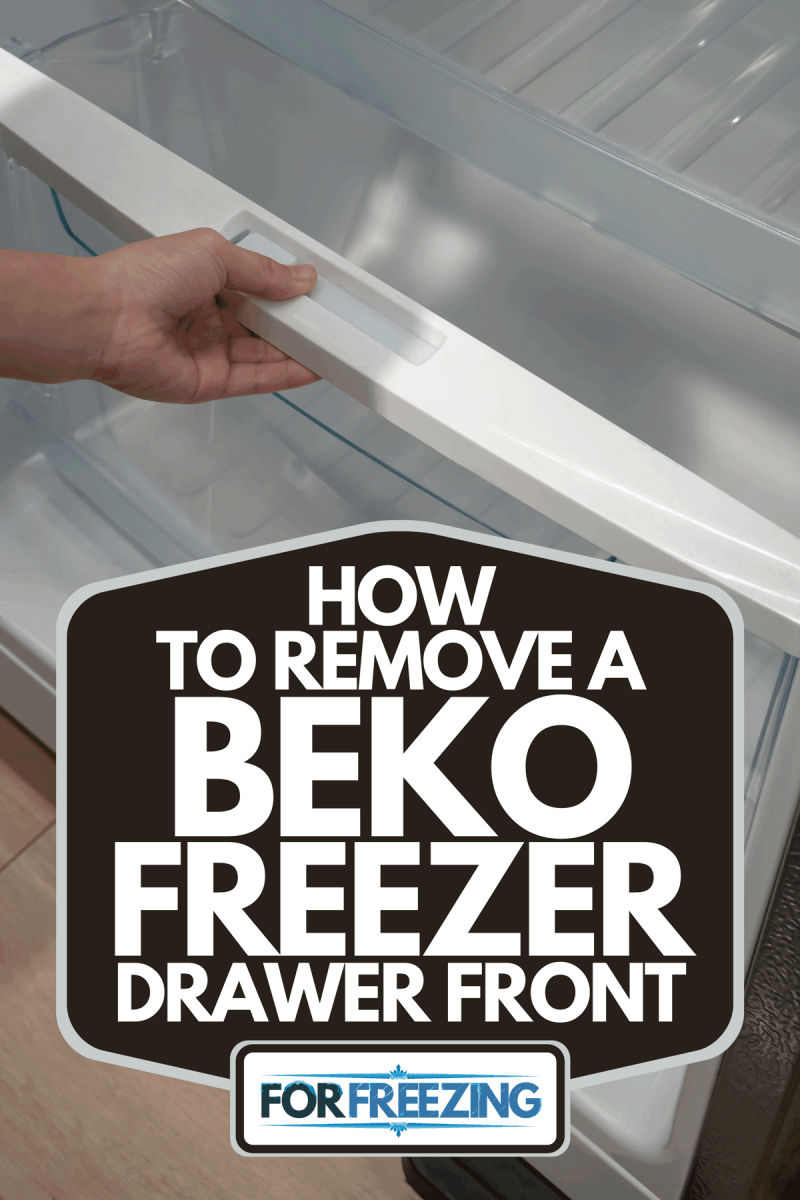
Ensuring the lifespan of your freezer entails proper cleaning. To fully clean it, you need to remove its parts—including the fragile freezer drawer front. But do you have any idea how to safely remove it? We've done our research to make sure that you won't break the front of your Beko freezer drawer. Below is the step-by-step guide on how to properly detach it.
The steps to safely remove a Beko freezer drawer front are as follows:
- Examine your freezer drawer carefully. Locate or find any gaps or pegs in it.
- Use a flathead screwdriver, a kitchen scraper, a scraper blade, or even an old credit card to gently help part the clip.
- Slowly put the flathead screwdriver or any tool of choice in the gap.
- Work along the edge from one side to the other, progressively opening the gap even more.
- Continue doing the procedure on the side part, until you hear a popping sound.
- Pull off the front away from the body of the drawer.
By now, you should already know how to remove your freezer drawer front by yourself. But if you are still not confident with the entire process and still have some questions, keep reading. We'll also discuss how to remove freezer drawers for Bosch, SubZero, and Whirlpool.
NOTE: WE MAY GET A COMMISSION IF YOU DECIDE TO MAKE A PURCHASE THROUGH THESE LINKS. THERE'S ADDITIONAL NO COST TO YOU. CHECK THE BOTTOM OF THE PAGE FOR MORE INFORMATION.
Removing A Beko Freezer Drawer Front
Caution: When removing your freezer drawer front, make sure to unplug the power cord from the main outlet to ensure safety and to conserve electricity. Also, place your hands and feet away from the bottom part of the freezer drawer to avoid pitch points.
Prepare the needed tools beforehand. You may look for any flathead tools that are sturdy enough to do the job, such as a flathead screwdriver, an old credit card, or a scraper blade.
You may also use a pair of gloves to protect your hands from sharp edges.
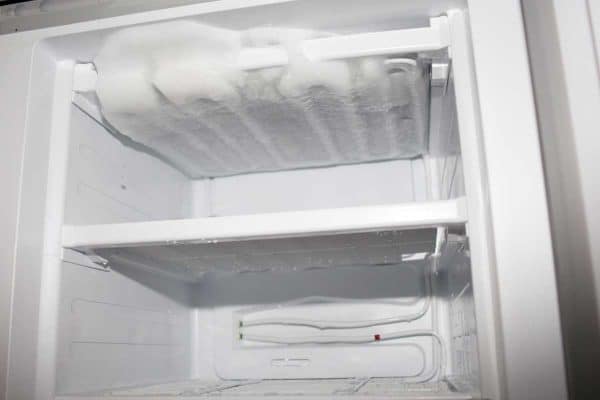
Freezer drawers are usually made of plastic and can become brittle when cold. They can crack easily, so it may be difficult to separate the drawer front from the drawer body without causing damage.
So, you should make sure that the plastic is warm before proceeding to the steps listed below.
You may also place the freezer drawer outside and let it sit directly in the sunlight to warm it up. The reason behind warming the freezer drawer first is to soften the plastic, making it less likely to crack.
If you are in a hurry, you can pour some lukewarm water directly into the freezer drawer to ensure that it is warm enough before proceeding with these steps:
1. Locate Or Find Any Gaps Or Pegs In The Drawer
Locating gaps or pegs makes it easier to detach the drawer front from the body itself. These gaps and pegs will serve as your guide to easily and safely remove the freezer front.
2. Use A Flathead Screwdriver
If you don't have a flathead screwdriver, a kitchen scraper, a scraper blade, or an old credit card will do to gently help part the clip.
These are just the recommended tools. You can use any tools that you may see fit if you don't have any of the items mentioned above. Just make sure it is sturdy and can fit in the gaps and pegs.
3. Put The Flathead Screwdriver On The Gap
In this step, it is important that you only apply gentle force with the screwdriver to prevent cracks. Forcing the tool into the gaps might break the plastic.
4. Work Along The Edge From One Side To The Other
You have to progressively open the gap. Always start at the bottom part of the drawer first since that's where the gaps and pegs are located. It is difficult and risky to start on the sides since they are securely attached to the freezer body.
5. Continue Doing The Procedure On The Side Part
When you are done disengaging the bottom part of the freezer front from the body, then it is time to start doing the sides. The same procedure must be done on the sides.
The sides will now have gaps. Gently start from there until you hear a popping sound. The popping sound comes from the pegs that connect both the freezer front and the body.
6. Pull Off The Front Away From The Drawer's Body
The final step as shown in the video below involves detaching the front away from the body. Here, you will have to successfully remove the freezer front from the body so you can clean it.
How To Remove Bosch Freezer Drawer
The process is easy for the bottom freezer drawer since you only need to lift the freezer drawer up and out. For the top freezer drawer, follow these steps:
- Pull out the top freezer drawer as far as possible.
- Carefully pull out the clips on both sides and lift up the front of the freezer drawer.
- Pull out the freezer drawer.
How Do You Remove A Subzero Freezer Drawer?
Below is the step-by-step guide to remove a SubZero freezer drawer based on different unit models:
Built-In 4250000 Refrigerator
- Look for tabs in the front corner (white portion) of the freezer drawer.
- Once located, press the tabs to detach the clear drawers.
For Built-In 36F And Side-By-Side Models
- Extend the drawer forward to its full extent.
- There are two clips located on both sides behind the upper basket; pull them.
- Then lift the freezer drawer out.
For Built-In 36S, 42S, 42SID, 42SD, 48S, 48SD And 48SID Models
- Pull and raise the drawer up to disengage.
- Detach the drawer by pulling through the opening in the door liner.
How Do You Remove The Bottom Drawer On A Whirlpool Freezer?
Watch the video above and refer to the steps below to remove the bottom drawer on a Whirlpool freezer:
- First, open the freezer drawer and lift up the bin.
- Use a large flathead screwdriver to depress the retaining tabs securing both drawer rail assemblies.
- Then pull the entire drawer assembly out.
Can You Replace Freezer Drawers?
Yes, you can replace your freezer drawers. There are online tutorials and PDF manuals available online for different refrigerator brands.
The tools needed to replace freezer drawers are also included in the tutorials. You can also buy a freezer drawer or any particular part of a refrigerator in an appliance store should you need to replace the old one.
Most parts are also available online. Thus, freezer drawers replacement can be a DIY job.
To give you an idea of how much it costs to replace a freezer drawer, check out this post: How Much Does It Cost To Replace A Freezer Door?
How Can I Organize My Freezer Without Drawers?
Here are some creative ways to efficiently organize your freezer without using drawers:
- Use divided freezer bins. These freezer bins not only give you the needed space to store more goods inside your fridge, but they are also easy to clean. And not to mention their aesthetic contribution to the overall look of your freezer.
- A silicon reusable storage bag is not just a smart alternative but is also an environmental-friendly organizer that can store smoothies, soups, and ready-made food. Just make sure that the silicon you use is FDA approved and BFA free.
- Another way of organizing your freezer without the need for drawers is by using Ziploc or freezer bags.
To give you more ideas on how to organize your freezers, you can read through our post on What To Store In A Freezer Door.
In Closing
It is easy to remove a Beko freezer front with only just the tools you have at home. Make sure to note the precautions before proceeding with the project to ensure your safety.
Examine the freezer drawer front for gaps and pegs. Make sure to gently and securely fit a tool in those gaps and start detaching it carefully.
Work from the edge of the bottom up to the sides. Once you hear a popping sound from the detached pegs, you have successfully removed the freezer front from its body!

![Woman hand open plastic white container drawer in new refrigerator. How To Put A Freezer Drawer Back In [Inc. For Specific Brands]](https://forfreezing.com/wp-content/uploads/2021/09/Woman-hand-open-plastic-white-container-drawer-in-new-refrigerator.-How-To-Put-A-Freezer-Drawer-Back-In-Inc.-For-Specific-Brands-600x400.png)