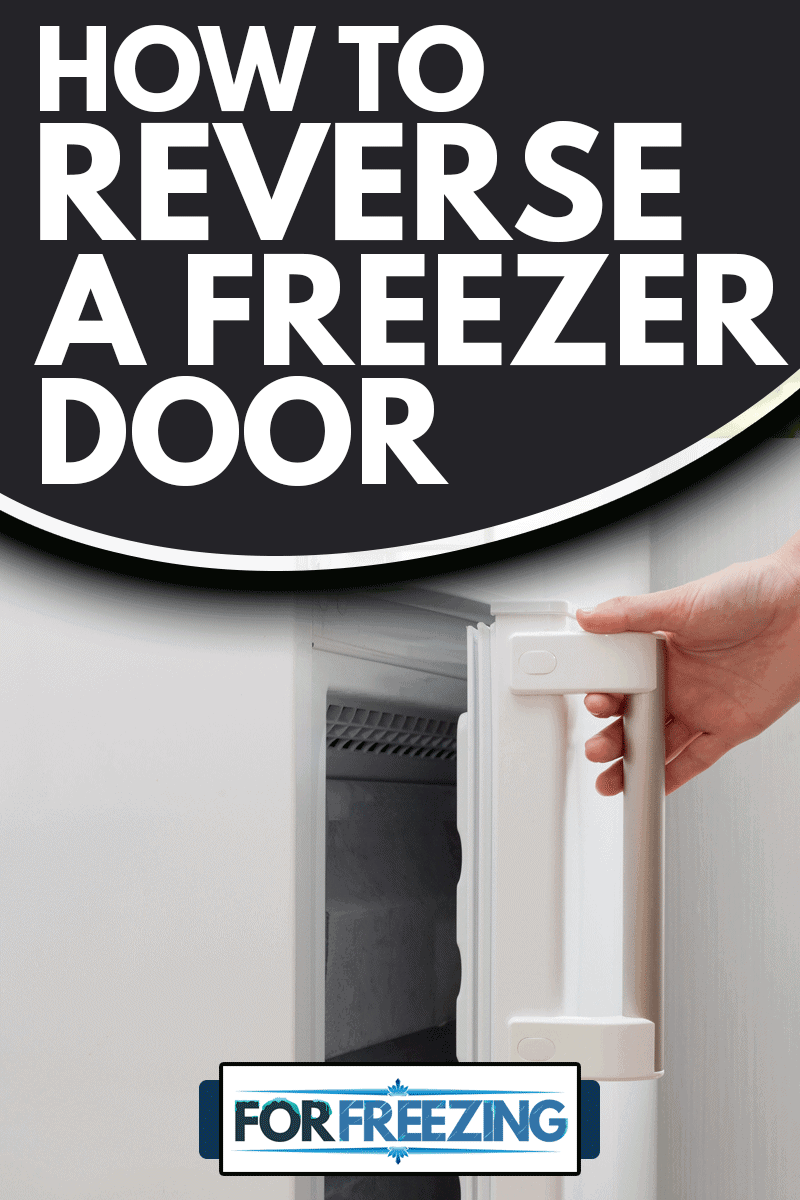
Most freezer appliances provide the option of reversing the door. This proves extremely useful because you can reverse the door to suit your preferences or needs. We have consulted with the experts to provide a step-by-step guide on how to execute it successfully.
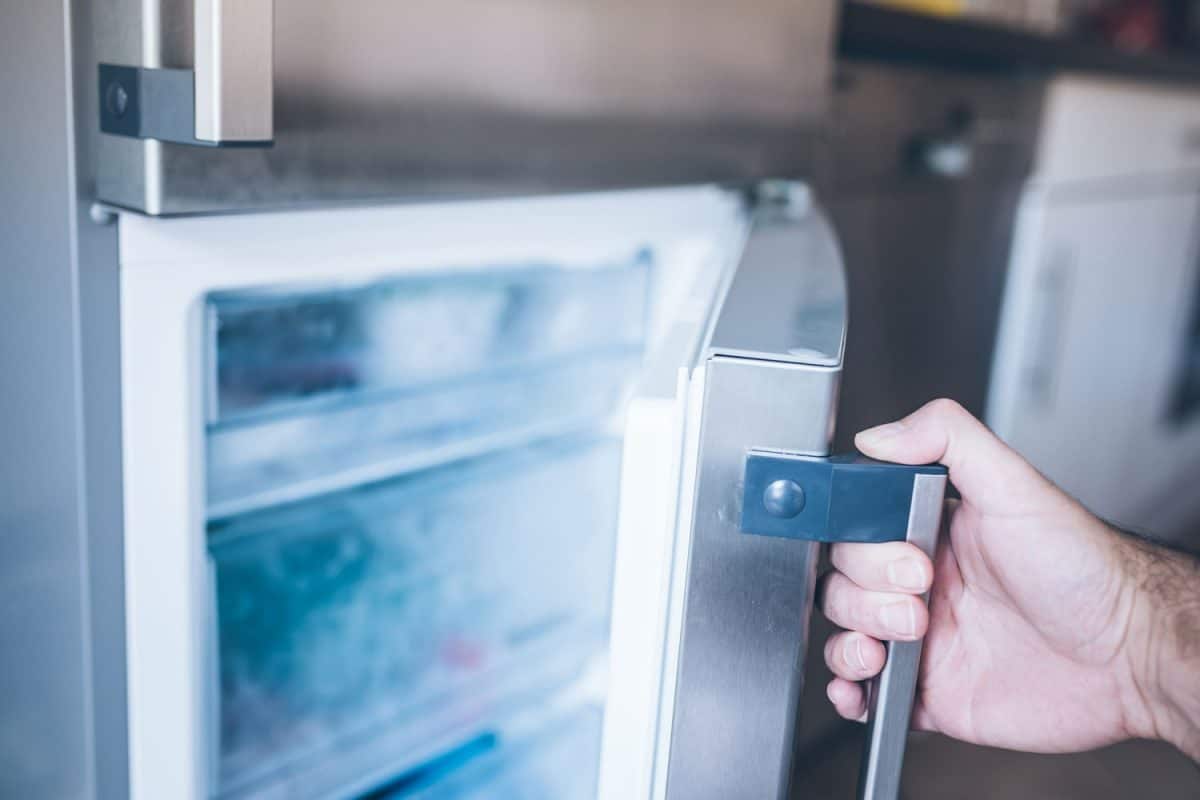
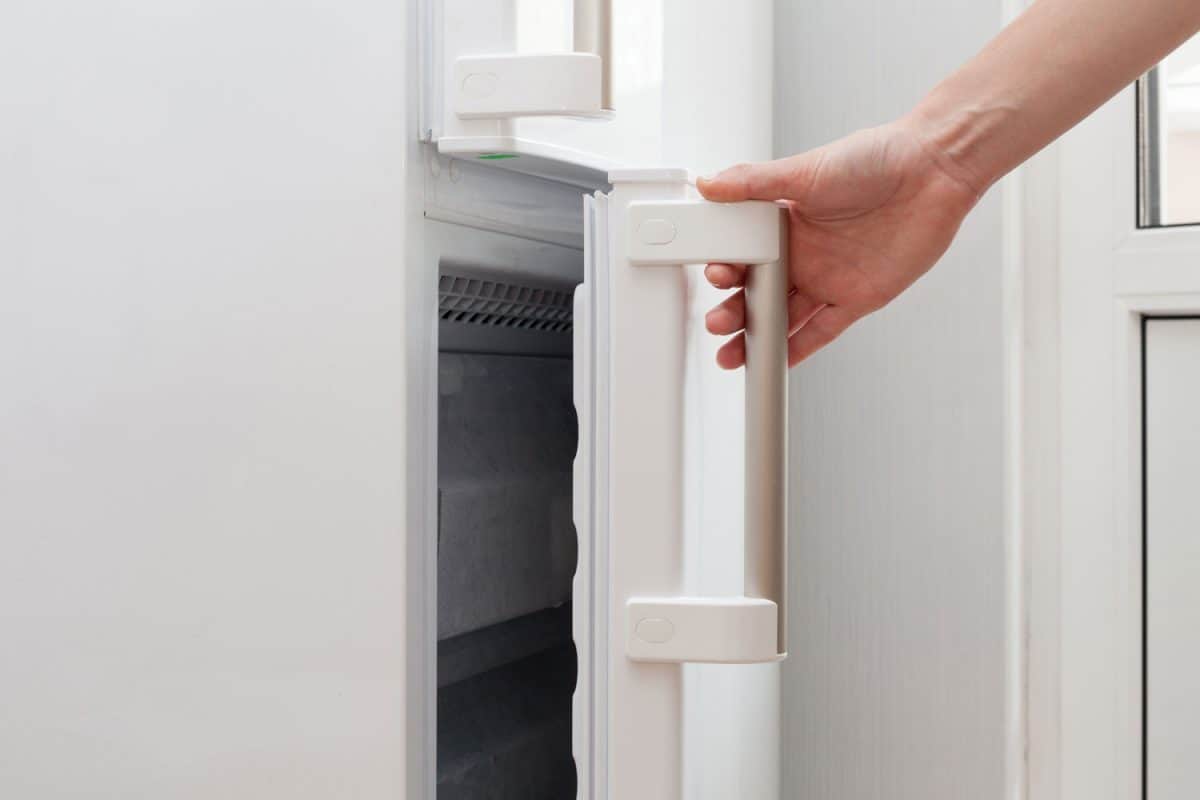
Unless your freezer has in-built ice or water dispenser, most freezer doors are reversible. You may want to reverse it because the door is hitting a wall or cabinet, or you are left-handed and simply want it opened from the left and not the right, as most freezers do. The basic steps below will help you to reverse the door correctly:
- Unplug the freezer.
- Remove all the food and liquids.
- Remove the freezer door.
- Reposition the adjustable foot.
- Reposition the hinge housing.
- Reposition the freezer door.
- Reverse the door handles.
- Let it stand for at least 4 hours.
Although each freezer model has its set of instructions in the manual, continue reading to understand more about the basic steps of reversing your freezer door.
NOTE: WE MAY GET A COMMISSION IF YOU DECIDE TO MAKE A PURCHASE THROUGH THESE LINKS. THERE'S ADDITIONAL NO COST TO YOU. CHECK THE BOTTOM OF THE PAGE FOR MORE INFORMATION.
How do you dismantle and reassemble your freezer door properly?
Your fundamental aspect should be to keep track of the process when you are taking apart the door and putting it back so that the door fits correctly. This job should take you around an hour to complete and the tools you need are a wrench and screwdrivers.
By following the basic guidelines below, you are in a better position to achieve your goal of reversing your freezer door:
1. Unplug the freezer
For your own safety, unplug your freezer to disconnect the electric cord from the electrical outlet. By doing this, you can prevent a potential electrical shock or any other electrical hazard.
2. Remove all food and liquids
It’s easier to work on your freezer when it is empty. Also, remove all food and liquids to prevent contamination or spoilage.
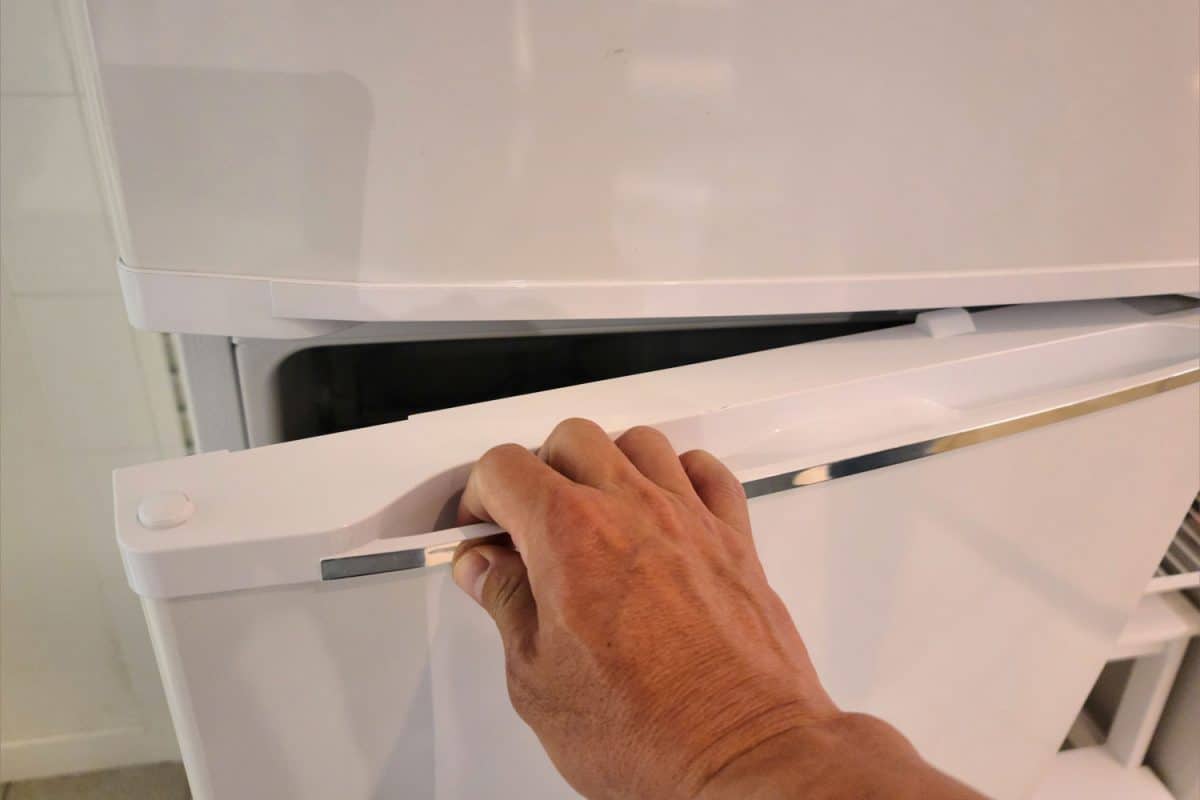
3. Remove the freezer door
Remove all the plastic covers and then locate the plastic hinge on top of the freezer and use your screwdriver to lift it up and remove it.
Unscrew the metal hinge, and then lift the door upwards to disconnect the door from the main freezer. Place the door and its hinges gently nearby in a safe location.
4. Reposition the adjustable foot
Using a wrench, remove the hinge pin found at the bottom of your freezer and re-position it into the hole right next to it. With someone helping you to hold the freezer, lean it at 45 degrees in a spacious area; or if it is a small freezer, allow it to lie flat on its back. Unscrew the foot hinge at the bottom and exchange it with the adjustable foot and screws from the foot that’s opposite.
5. Reposition the hinge housing
Remove the hinge housing located at the top of your freezer, and reposition it on the opposite side of the freezer door; then unscrew the hinge housing and the stopper at the bottom.
Remove the metal stopper out of the hinge housing hole and rotate it at 180 degrees and place it on the opposite side of the door.
6. Reposition the freezer door
Take up your freezer door and hold it in position and screw it into its new position, making sure the top hinge is placed firmly in its housing.
7. Reposition the door handles
If your freezer has handles, unscrew and flip them, and screw them into the opposite side.
8. Let it stand for at least 4 hours
With caution, stand your freezer upright, and if needed, adjust the front feet to create a balance. Check all the screws at the hinges and ensure they are tight enough but not too tight.
Place back all the plastic covers and check if the door is aligned properly, leaving no gaps that may allow air inside the freezer. Check also if the door opens and closes easily.
Next, allow it to sit for at least 4 hours to allow the system to settle well before switching it back on. Allow the temperatures to normalize, and then you can put back your food and liquids.
Are all fridge freezer doors reversible?
Similar to freezer doors, not all fridge freezer doors are reversible. They too could have a water or ice dispenser built into the door, preventing the possibility of it being reversed.
But, for those without the ice or water dispenser, you can easily reverse the door if circumstances or a need arise, causing the need to reverse it.
What is a reversible door on a fridge freezer?
Most fridge freezer appliances feature a reversible door, making it possible to change the direction the door swings open. This simply means that if your door swings open from the left to right; you can reverse the order so that it opens from the right to left or vice versa.
This can be done by removing the screws and bolts and then removing the door. However, keep track of all the parts you remove so that you can re-assemble them back in the correct order to ensure the door opens and closes without any problems.
How do you reverse a fridge freezer door?
Reversing a fridge freezer door is similar to reversing the door of a freezer. The only difference is that you have to reverse both the fridge and freezer doors so that they both open and close from the same direction.
So, whether you have a bottom or top-mounted fridge freezer, it’s important to follow the basic steps of reversing the doors mentioned above while carefully following the instructions in your manual because models are different.
How do you reverse an upright freezer door?
An upright freezer can also have its door reversed. You’ll use the same concept similar to reversing a bottom or top-mounted fridge freezer, but carefully following the instructions in your manual.
As always, remember to keep the parts, screws, and bolts safely aside and have a keen eye on the order in which you dismantle the door, thereby re-assembling it in the correct order.
Check out the video below, which explains in-depth how to reverse the door of an upright freezer:
In Closing
There are varied reasons why you would want to reverse the door of your freezer or fridge freezer. It could be you just purchased a freezer and you are left-handed and prefer a more comfortable position to open it. Or it could be your kitchen is not big enough or you have too much stuff that your freezer door keeps banging against another item, such as a cabinet or even a wall.
The good news is that, whatever the reason is for reversing the door, it can be done easily as long as you carefully follow the manual and also taking care to follow the basic steps of removing and putting back a door.
As usual, take extra caution during the process not to lose or misplace any part, screw, or bolt. This is to ensure that everything is placed in its correct position and firmly secured so that your freezer functions normally as it did before reversing the door.
Take a look at our previous posts on the foods to store at the freezer door, and how long the freezer door can be left open:

![Woman hand open plastic white container drawer in new refrigerator. How To Put A Freezer Drawer Back In [Inc. For Specific Brands]](https://forfreezing.com/wp-content/uploads/2021/09/Woman-hand-open-plastic-white-container-drawer-in-new-refrigerator.-How-To-Put-A-Freezer-Drawer-Back-In-Inc.-For-Specific-Brands-600x400.png)