Occasionally, you will need to move your chest freezer for various reasons. It could be because you are moving houses, transporting it to your home after purchasing one, or taking it to a different location. Is it best moved on its side, upright, or at a particular angle? We've consulted the experts to explain the correct technique of transporting your freezer.
Yes, you can transport a chest freezer on its side that has the compressor. But the proper and safe method is to transport your chest freezer in its normal upright position. For the best practice in transporting, follow the steps below:
- Unplug the electrical cable from the power-point.
- Take out the food.
- Defrost your freezer.
- Clean and dry it thoroughly.
- Secure your freezer.
- Measure your freezer, doorways, and stairwells.
- Request for help.
- Move your freezer to the truck.
- Load your chest freezer in an upright position on the truck.
To ensure your chest freezer is not damaged during transportation, continue reading and learn more on how to plan ahead and safely relocate your handy appliance.
NOTE: WE MAY GET A COMMISSION IF YOU DECIDE TO MAKE A PURCHASE THROUGH THESE LINKS. THERE'S ADDITIONAL NO COST TO YOU. CHECK THE BOTTOM OF THE PAGE FOR MORE INFORMATION.

how to properly transport your chest freezer
The best course of action to take when transporting your chest freezer is to follow these steps below:
1. Unplug the electrical cable from the power-point
Of course, you need to switch off and unplug your freezer from the electrical outlet. It is a safety measure for you and your appliance to prevent damage to the freezer's coolant.
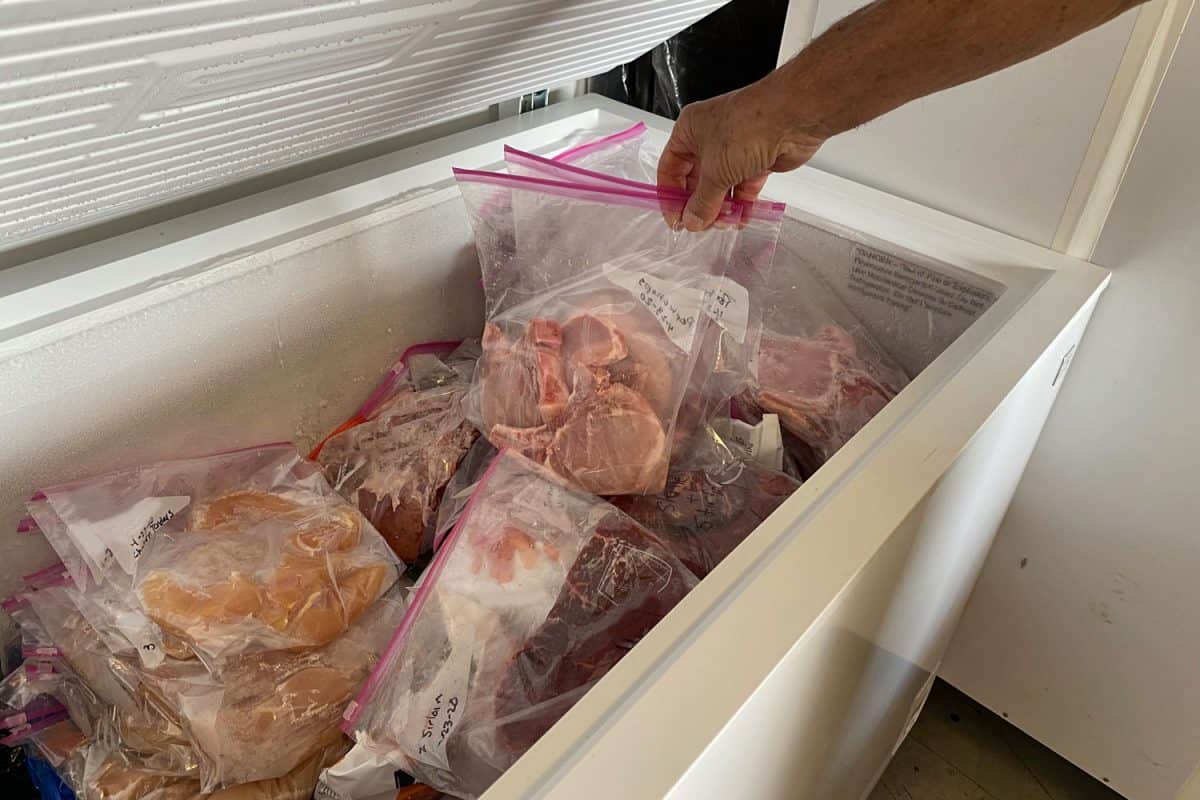
2. Take out the food
Remove all the food until your freezer is empty. Eat what you can before moving, and if you have more than you can finish, consider giving the extra food to your friends, family, or even a local food bank.
If you have an ice maker in your freezer, you can remove it yourself by following the instructions in the freezer manual, or you can seek help from a professional.
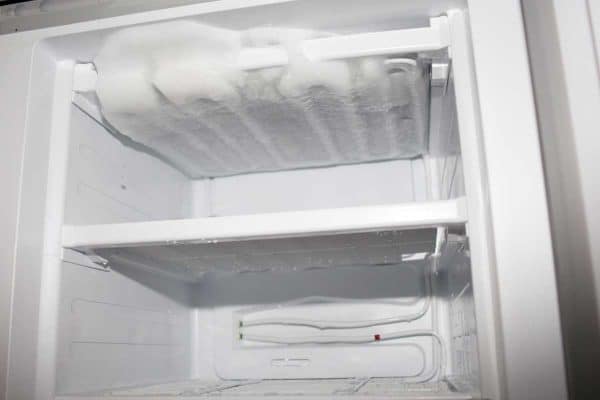
3. Defrost your freezer
Defrost your freezer at least one day before moving. Freezer models are different, so check out the recommended procedure in the manual. Overall, after your freezer is unplugged and empty, leave the door open to ensure all the ice has melted.
Some models allow you to pour warm or boiling water inside to melt the ice faster, and others may require you to move them outside to thaw.
To drain the water away, some have a hosepipe attached to it. Alternatively, you can use your garden hose by threading its end to the drain plug in your freezer and drain the water outside or into a sink.
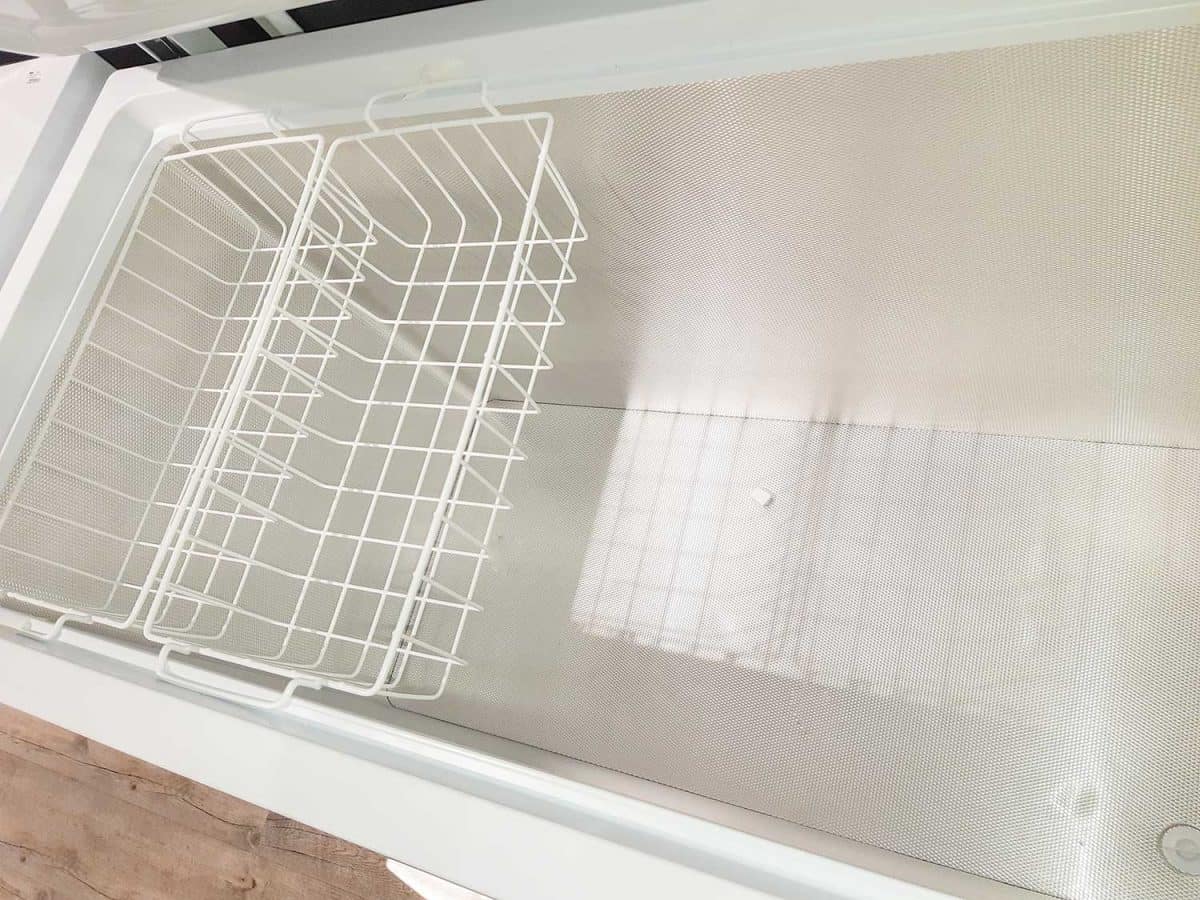
4. Clean and dry thoroughly
After making sure your freezer has completely defrosted, it’s important to clean and dry it thoroughly to prevent mildew and mold if transportation will take a long time.
Use a mild detergent like the one you use to wash dishes, or go green and use vinegar or baking soda to clean your freezer. Add either of these into a bowl of warm water, and use a cloth or towel to wash the inside of the freezer. Rinse with plain water to remove all residues.
Use a cloth to pat dry, and then leave it to air-dry for at least 24 hours, making sure it does not have any moisture.
If there are any freezer smells still lingering, take 2 tablespoons of baking soda into 1 liter of water, pour it into a bowl, and place it inside the freezer for 2 to 4 hours. If the smells are too strong, place some activated carbon inside a small bowl and leave it inside the freezer for 2 to 4 hours.
5. Secure your freezer
After making sure your freezer is clean and dry, close the door and use moving straps or ropes to firmly secure it to avoid the door opening accidentally.
Also, tape the power cable to your freezer to prevent you or your helper from tripping onto it. It’s preferable to use masking tape because it will not ruin its surface.
Next, wrap blankets over the entire freezer to create soft padding to avoid potential damage to the vulnerable parts. Afterward, tape the blankets securely to prevent them from unfolding during transportation.
6. Measure your freezer, doorways, and stairwells
It’s advisable to measure your chest freezer, the stairwells, and the doorways, to make sure it will pass through without a problem and into the dolly before taking it to the truck. It can be very frustrating trying to figure this out at the last minute.
7. Request for help
To prevent injury to yourself, you may need some help from family, friends, or a moving company to move your heavy appliance. Also, do not forget to wear appropriate clothing that you don’t mind getting dirty and non-slippery sneakers.
8. Move your freezer to the truck
To move your chest freezer effectively, use an appliance dolly to move it out of the house or its current location. Slightly tilt your freezer to one side, glide the dolly to its underside, and then pull the load backward, adjusting it until it fits perfectly at the center of the 4-wheel platform.
Fasten the freezer with rope or straps onto the dolly until it is firmly secured, and then move it to the truck.
9. Load your chest freezer into the truck
With the extra workforce available, move slowly up the truck’s ramp and into the truck. For the best outcome, the dolly should be pulled from the front as your labor force pushes from behind, ensuring it is well balanced.
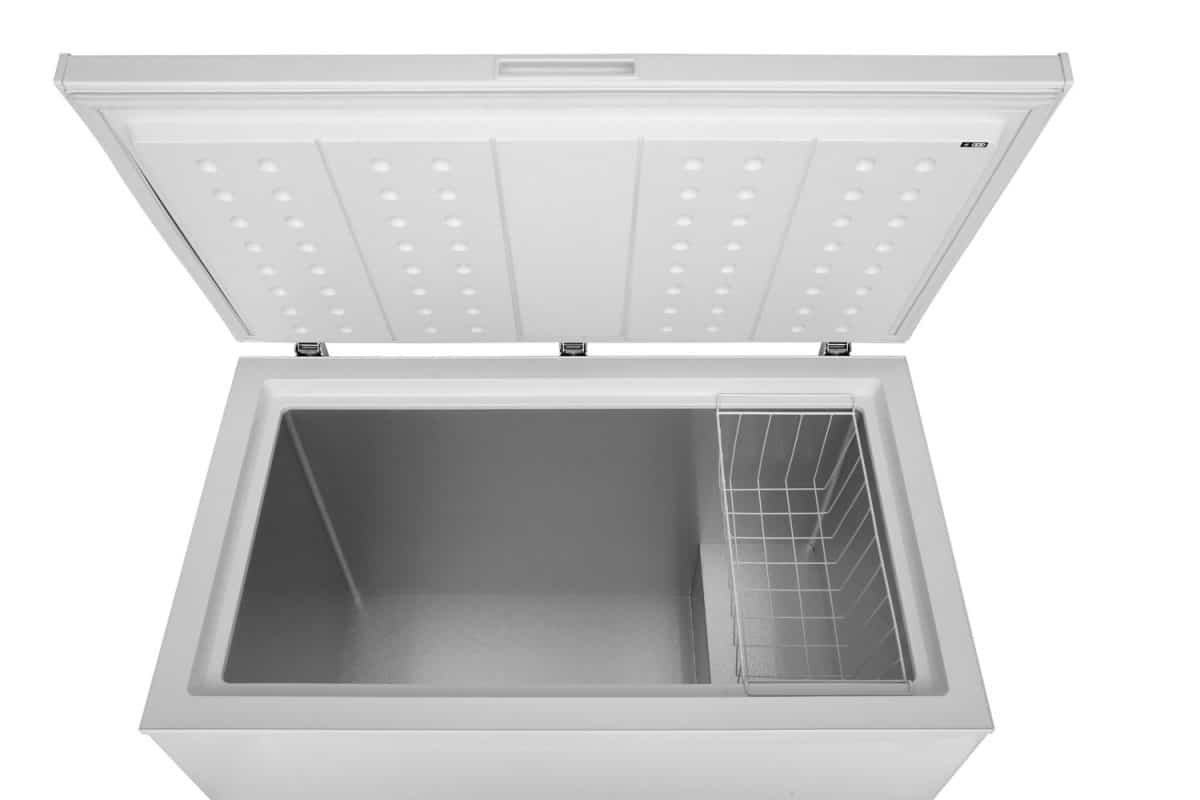
Once inside the truck, place your chest freezer on its standard operating position, that is, on its feet. Thereafter, use strong rope or straps to secure the freezer to the side of the truck.
What happens if you lay a freezer on its side?
If it is not possible to transport your chest freezer in its normal upright position, lay it down on its side that has the compressor. Even in this position, ensure the door has been secured firmly.
When you get to the new location, set your freezer upright and allow it to sit for an equal amount of time as it did when it was on its side, though up to 24 hours is fine. The compressor, which is responsible for the freezing cycle, is normally found at the bottom of the chest freezer in the back. It is usually black and almost the size of a football.
Do you have to let a freezer sit before plugging it in?
When your appliance is in transit, it gets shaken around a lot. So, when it arrives at its new location, allow it to settle before plugging in so that your freezer remains in proper working condition.
The compressor has oil, which, if it leaks out to the freezer system during movement, can bring about a blockage, interfering with the cooling function when turned on.
How long does it take for a new chest freezer to be ready? [after being plugged-in]
The company from where you bought your freezer may recommend at least 8 hours for it to settle down after it is delivered.
However, to ensure the oil has settled down fully, it’s best to allow up to 24 hours for your freezer to be ready before you plug it in, especially if it was transported while on its side.
How do you move a chest freezer by yourself?
If you don’t want to use a mover’s company to help you move, your friends or family can be of great help. Follow the steps provided above from numbers 1 to 9 to ensure you move your chest freezer's safety.
How long does a freezer have to be unplugged before moving?
Unplugging your freezer for 24 hours before moving is very important because you will be preventing damage to the coolant and coils inside it.
Do I need to empty my freezer before moving?
If you are planning to move, it’s important to empty your chest freezer. Ice will definitely thaw during transportation, and the water will leak out onto the truck, thus creating a mess.
The general rule is to transport your freezer when it’s empty because damages can be prevented. It’s also important to look up your manual for specific instructions on how to move your freezer.
In closing
A chest freezer is a very useful appliance in your home, but difficult to move. It requires you to follow the correct guidelines to move it safely without causing any damages to it.
You also have to plan well before the actual day of moving to avoid last-minute challenges that may occur and hinder a smooth move.
To learn more about how to clean your chest freezer before moving, or during regular cleaning, look into our previous posts:

![Woman hand open plastic white container drawer in new refrigerator. How To Put A Freezer Drawer Back In [Inc. For Specific Brands]](https://forfreezing.com/wp-content/uploads/2021/09/Woman-hand-open-plastic-white-container-drawer-in-new-refrigerator.-How-To-Put-A-Freezer-Drawer-Back-In-Inc.-For-Specific-Brands-600x400.png)
I recently bought a new 5 cu. ft. chest freezer and I mistakenly put it upside down in the shopping cart at Sam’s. I then laid it on it’s side in my SUV to drive home. I then read afterwards that the freezer should not be turned more than 45 degrees and if so, place it upright for 24 hrs. I have left my new one to stand upright for 48 hours. Is that enough time prior to plugging it into the receptacle ?